This section describes how you can associate equipment whose location the PIN will be identifying. You can either directly enter a new equipment detail or select an existing equipment.
Irrespective of the PIN type you select; the ‘Equipment’ details entry section will always appear within ‘Create PIN’ screen below the PIN description to create a new equipment.
The only difference is when you select ‘Equipment’ as a PIN type, then only the ‘Equipment’ details entry section will appear in expanded mode but in case of selection of other PIN type it will remain collapsed. Also, there will be the option to associate an existing equipment from the Equipment list in Equipment module.
All equipment associated will inherit the PIN photos and vice-versa. For example, as multi-equipment association is allowed, if you associate 2 equipment each having 3 photos and the PIN already had 5 photos, then after association the PIN will have 11 photos, and each equipment will have 8 photos. You can later disassociate equipment from the PIN and in that case the PIN will have 8 photos, and the remaining equipment will have also 8 photos.
To add new equipment:
In the Create pin screen, you can enter the general details of the equipment in the corresponding fields under the Create equipment section.
- Enter/select general details of an equipment like enter name (mandatory), manufacturer name, model, serial no. & area (all are optional).
Once you create the PIN, this equipment whose location the PIN is identifying and entered within the ‘Create Equipment section’ will be saved on the Equipment list screen and will be available for selection for other PINs.
Screenshot below displays Equipment details entered on the ‘Create PIN’ screen:
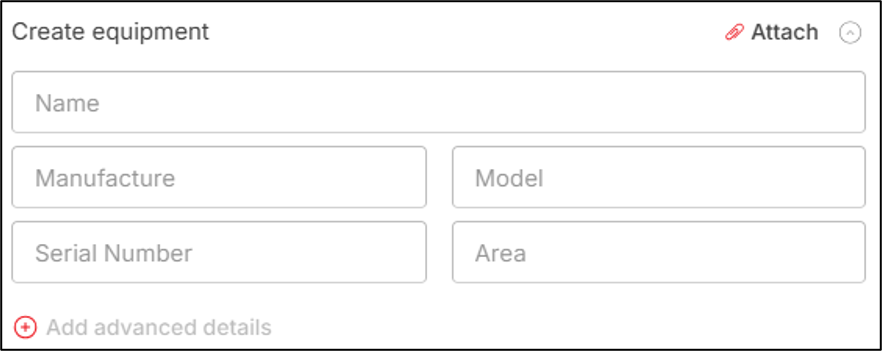
‘Equipment name’ for equipment entry on ‘Create PIN’ screen will be mandatory.
Note: PIN description will be there, but equipment description will not be there (as both are kind of same field for providing description if the equipment identified by the PIN).
After you provide the name of the equipment, the [Add advanced details] button will get enabled. Once you click on the [Add advanced details] button, you will get navigated to the ‘Advance details’ screen where you can provide additional details for the equipment associated.
Screenshot below displays the Advance details screen: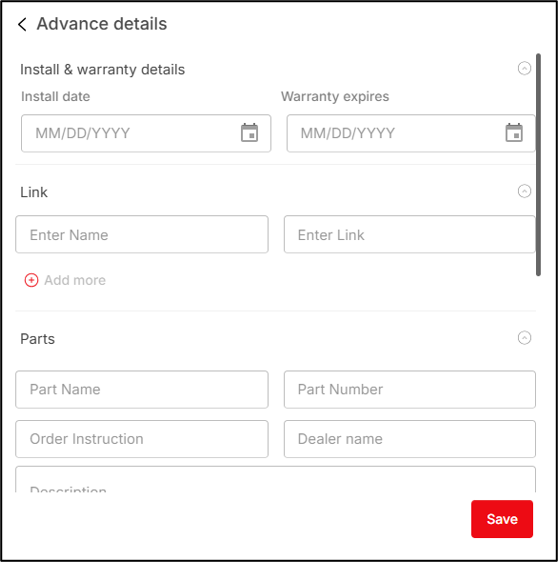
In the advance details screen you can provide the following information:
- Enter the Install Date in the Install date field.
- Enter the Warranty Expiry Date in the Warranty expires field.
- Add Useful links under the Link section to associate external website links with the equipment.
- Add information on equipment parts such as Part name, part number, order instruction, dealer name, description & order links under the Parts section.
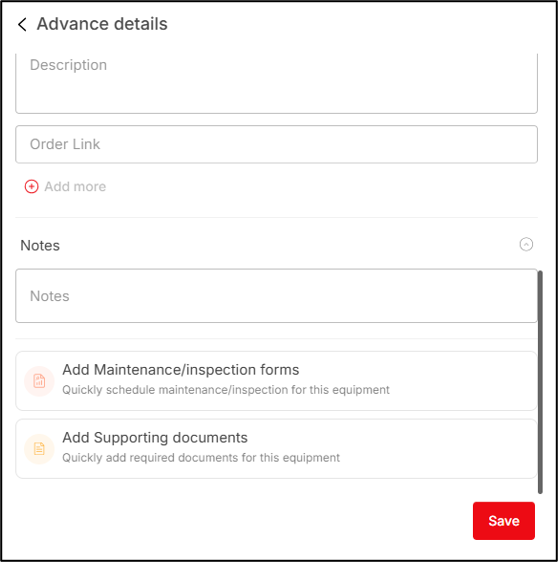
- Enter any notes in the Notes section.
Add Maintenance/Inspection Forms
Equipment which the PIN identifies require maintenance and inspection. Maintenance/inspection templates can be added for the equipment. These templates are filled up periodically (based on schedule selection) to generate PDF forms, wrapped with meta information.
Templates can be scheduled as tasks. These tasks are linked to templates. For instance, a Fire Extinguisher may have a weekly inspection, and an annual servicing. These would be two separate templates, with different recurring schedules. You may also upload new templates manually. Whenever a scheduled task is skipped, ARC Facilities generates an alert which is sent to the users listed under “users to notify” and “approvals” in the PDF template through email. The email alert will be sent one time, immediately after the task expires.
- Click [Add Maintenance/inspection forms] button under the ‘Notes’ field (on the ‘Advance details’ screen) to associate a maintenance / inspection template with the Equipment.
The Form templates screen will appear, displaying all the form templates present in the Forms module of the campus.
 You will click on a template to select that template (only one template can be selected at a time). As soon as you select a template, the schedule section appears.
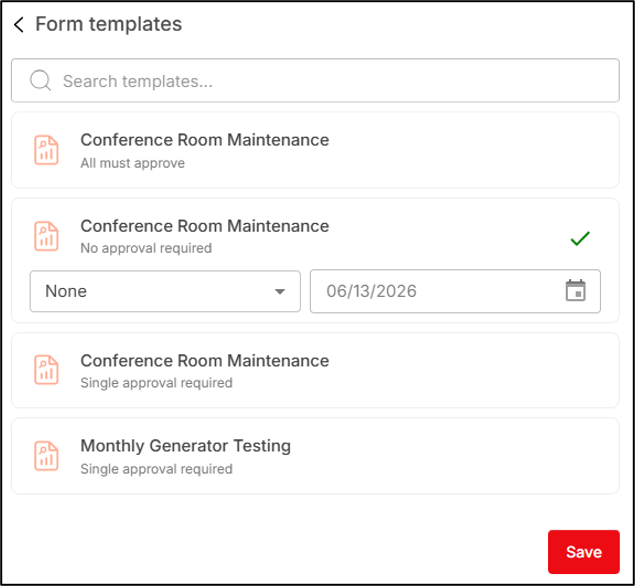
A schedule for a template is selected when a template is uploaded in ARC Facilities. But you can change the schedule from this section. You can select the start date from which form will be generated from the template and the recurring period (none, daily, weekly, monthly, quarterly, half yearly or yearly) of the form to be generated by you. On each recurring date after the scheduling period a notification is send to you stating that you need to fill up the template and generate a form.
Note: The schedule specified here should affect only this instance of the report. For instance, if you upload an inspection template and then link the same template to several PINs, you should be able to specify a different inspection interval for each use (pinned location) of the form (created using this template).
After selecting the template, you will click the [Save] button (on the Form templates screen) to associate the template with the Equipment.
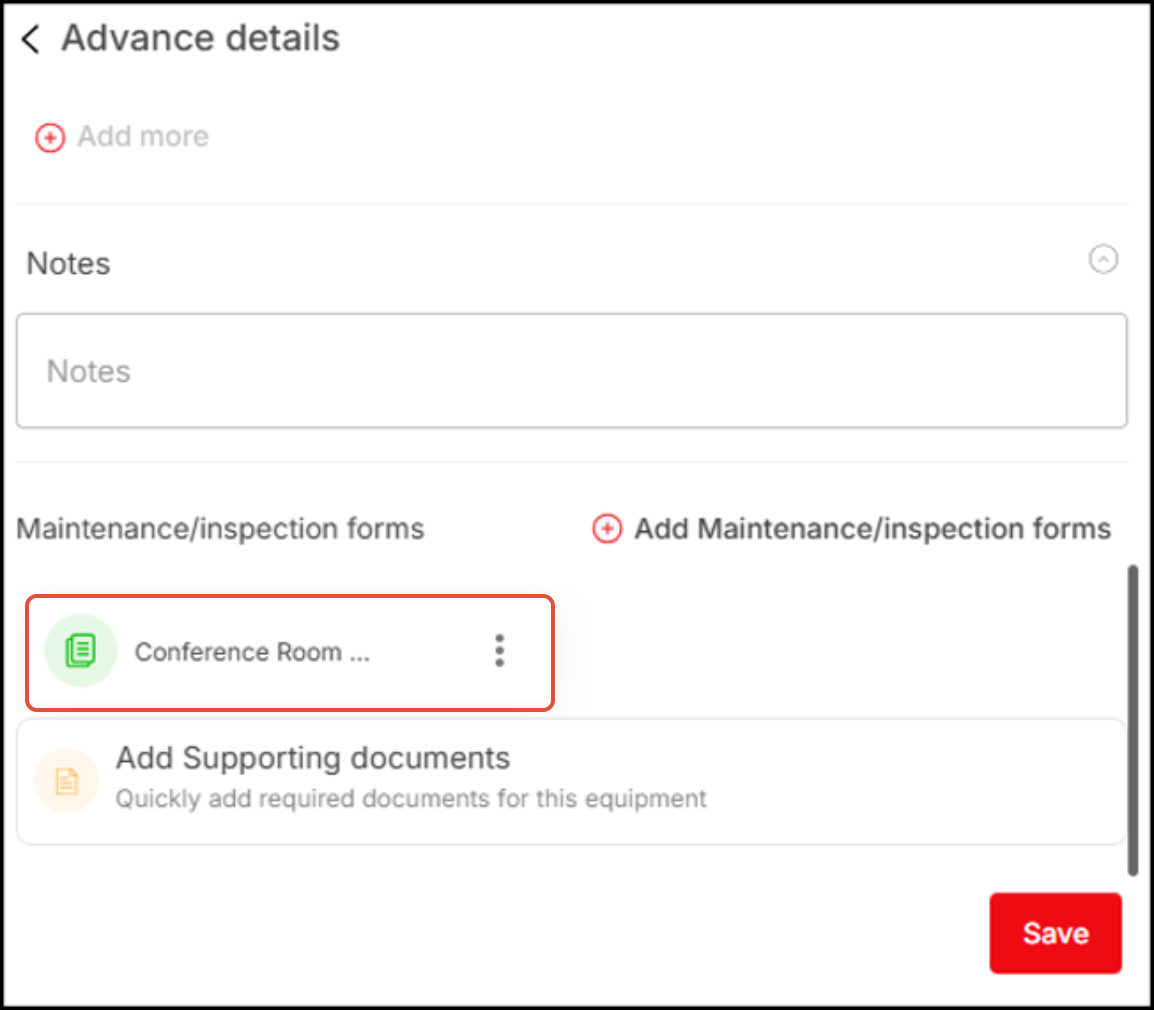
You can access the associated templates, and the forms created using that template (also add more templates if necessary) & delete the template from the Equipment from the Advance details screen.
Add Supporting documents:
You can associate various documents with the equipment (which the PIN identifies) like installation guide, troubleshooting guide, and usage guide for the equipment.
- Click on [Add Supporting documents] button to upload and attach documents from ARC Facilities Folders & Files module of the campus (inside which the equipment is being created) or from the local computer.
A pop-up menu appears, from where you can navigate to local computer drive or ARC Facilities folder/file screen to attach/link files with the PIN.
Note: All files loaded to ARC Facilities are indexed and full-content searchable, regardless of, if these are stored in Folders & Files module or if they are associated directly to an object.

Attaching files from ARC Facilities:
- Click the ‘ARC Facilities’ option to attach files from the Folders & Files module.
The Folders & Files module first screen will appear displaying all the folders.
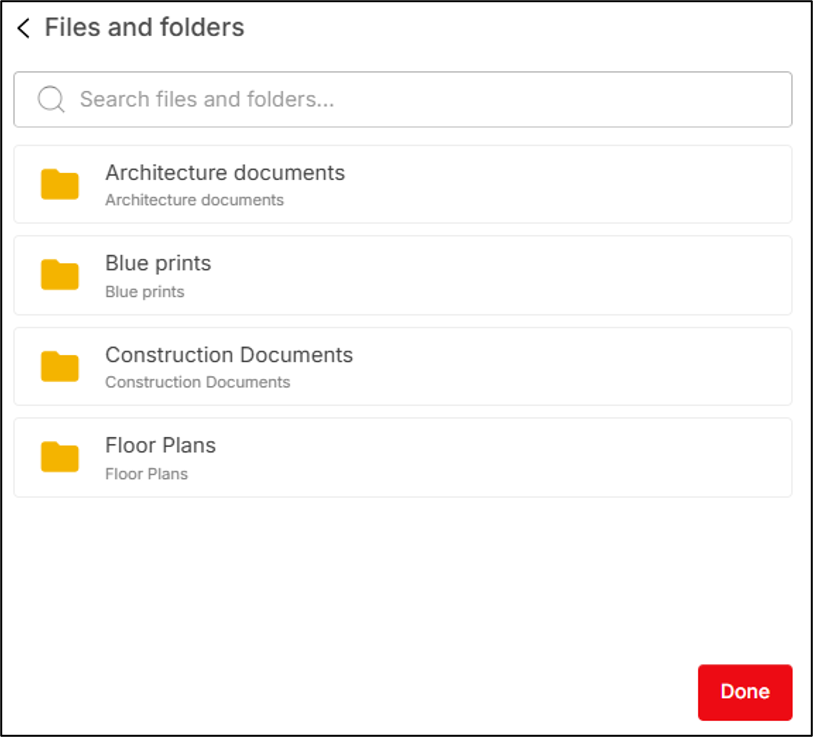
- Navigate inside a folder to view the files.
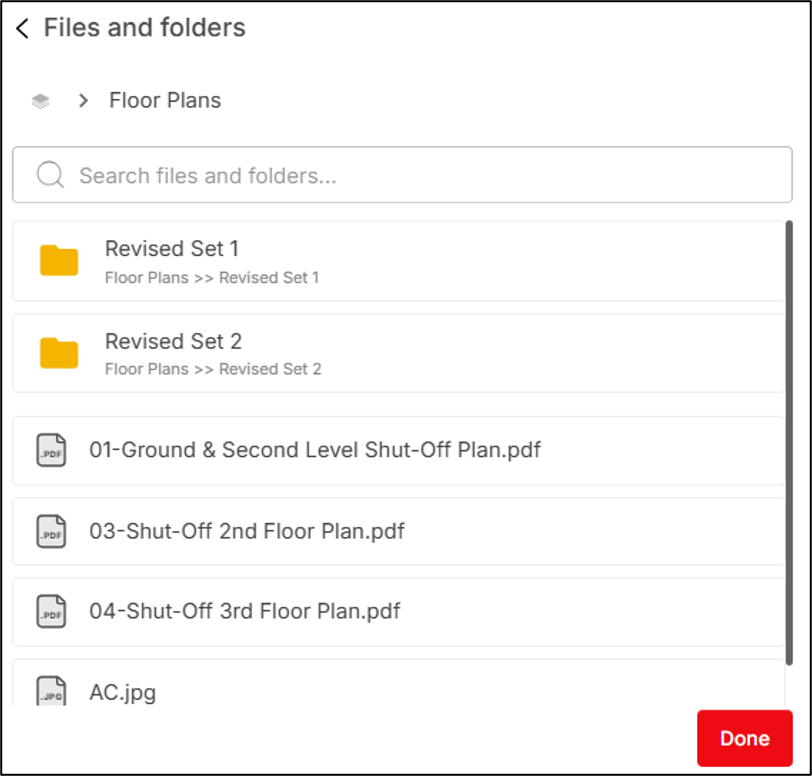
- Click on the file(s) to choose the files to be linked (multiple files can be selected).
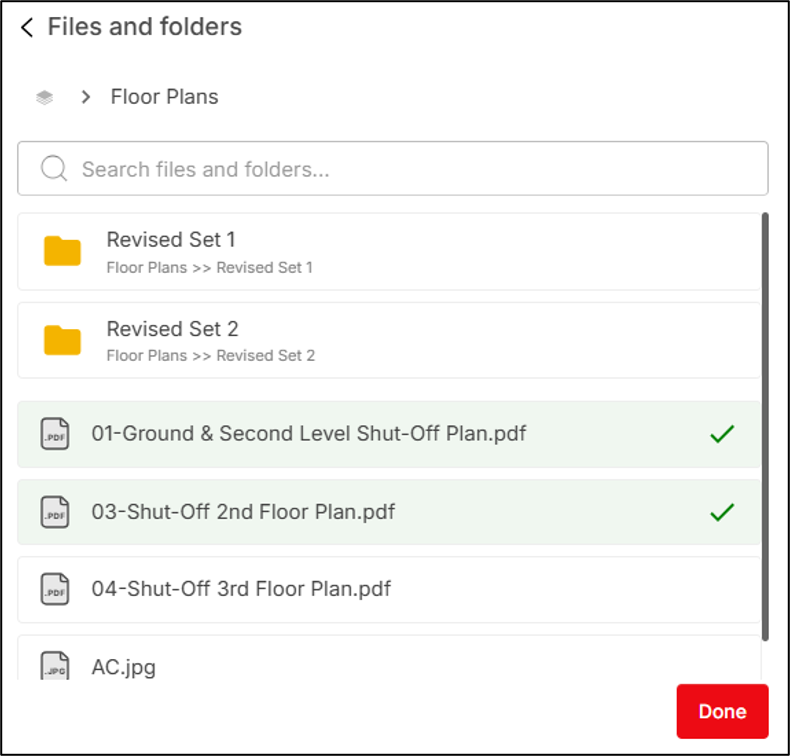
- Click [Done] to attach the files with the form.
Attaching files from Computer:
- Click the ‘Computer’ option to attach files from the local computer drive.
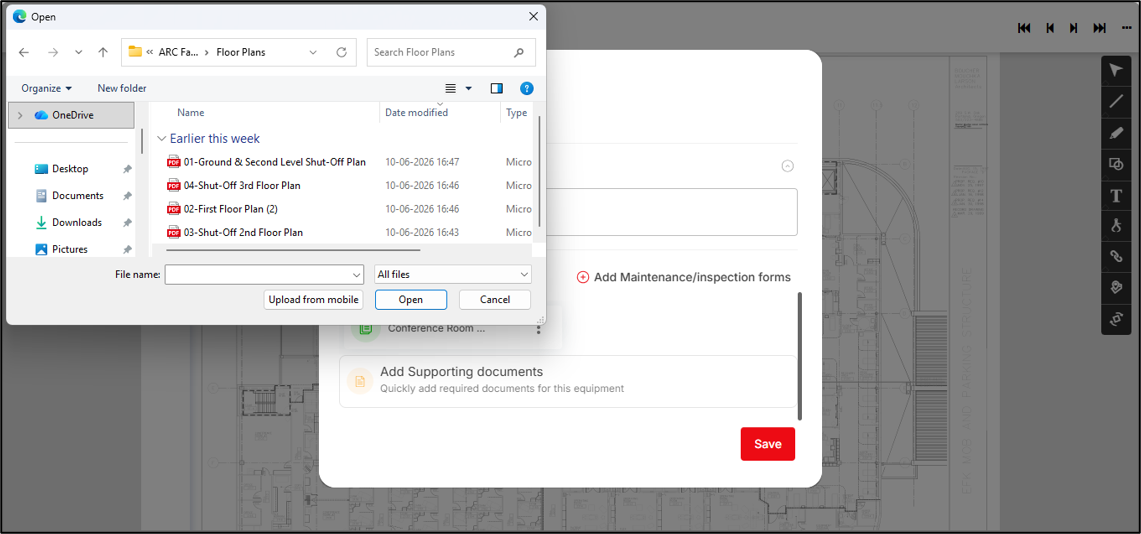
- Double-click on a file to select it or single-click on a file to select it and then click [Open] button to attach the file(s) with the form.
Screenshot below displays attached files:
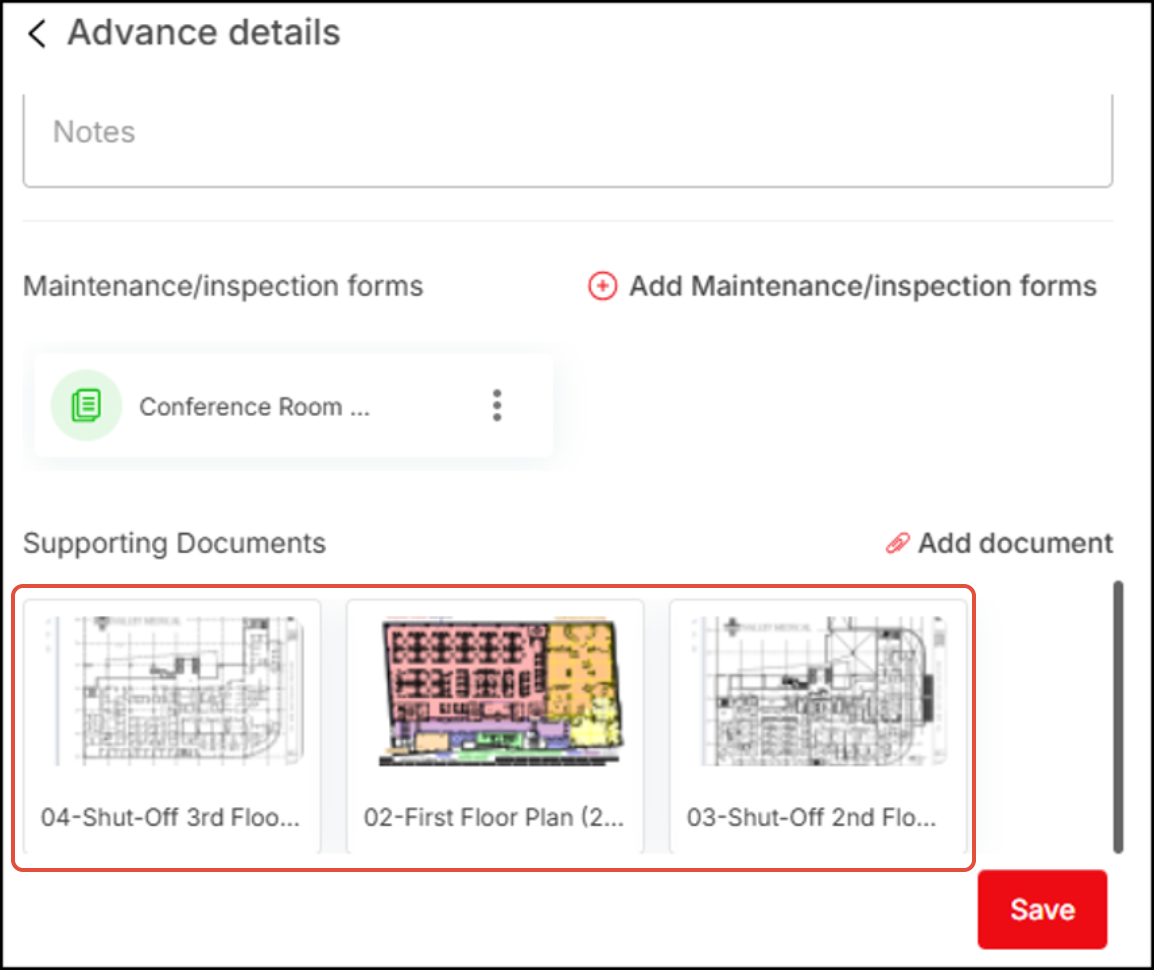
You can do the following with the files:
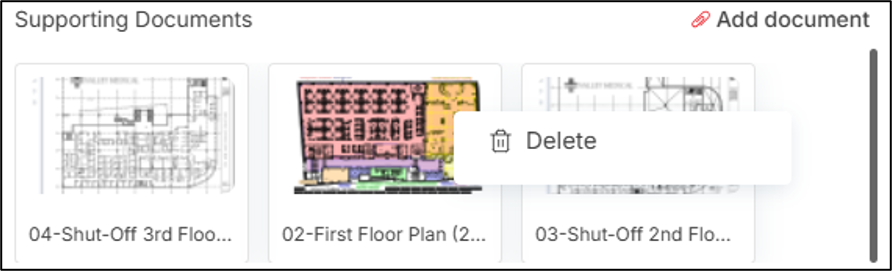
- Delete the linked file from the application (if attached from computer) or detach the file link from the Equipment (if attached from ARC Facilities – Folders & Files module) using the [Delete] button which appears after clicking the [More options] menu button.
The ‘Delete’ button is shown below.
You add more documents by clicking on the [Add document] button.
Click the [Save] button to add the above listed information.
To associate existing equipment:
- The equipment selection popup will appear where all the equipment of the campus will be displayed (these are fetched from the Equipment module)
Click the
 [Attach] button present adjacent to the Create equipment section header to associate an existing equipment with the PIN.
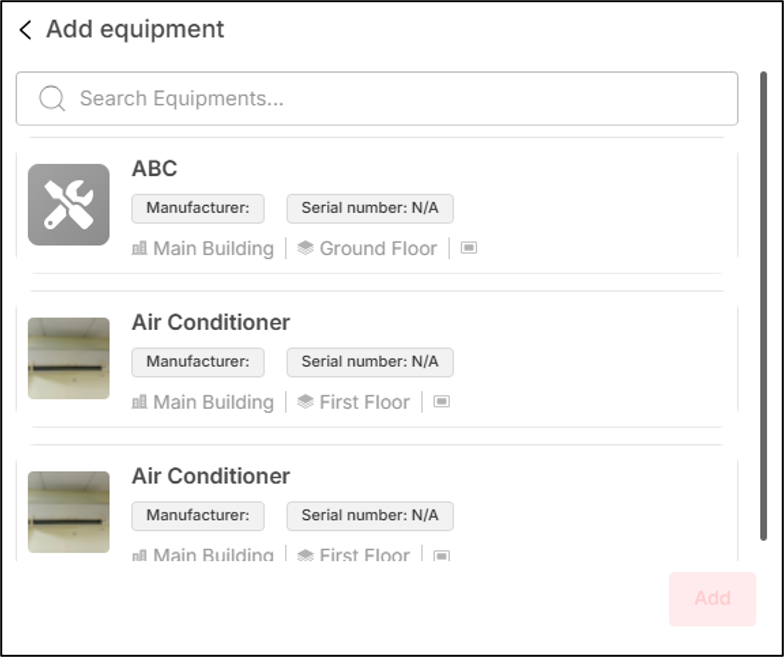
- Click on an equipment to select it and then click the [Add] button to associate the equipment with the PIN
If the equipment getting associated with the PIN already has location previously defined (has another PIN associated with it), the application will display a prompt to you, asking whether you would like to update the PIN location or not (meaning discard the previous PIN and update with the new PIN).

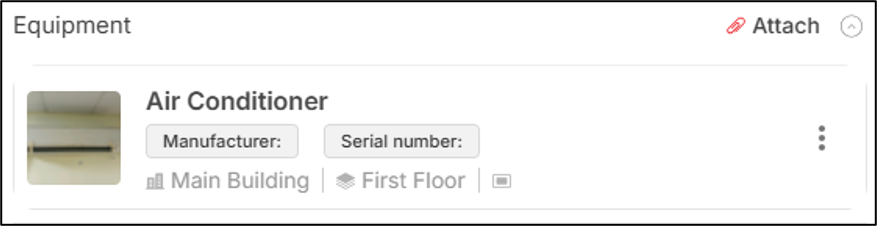
Screenshot below displays the newly attached PIN with the equipment:
Clicking on [More Option] button, you will get two options: Edit & Delete.
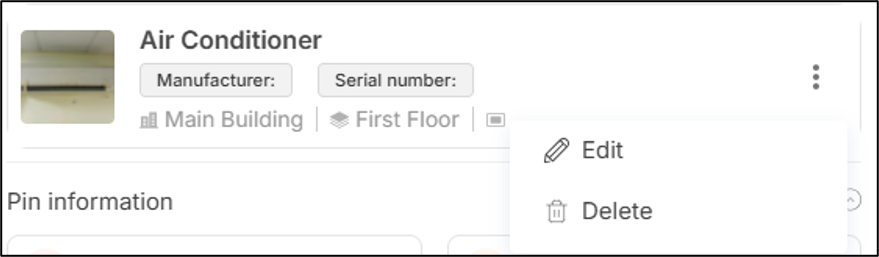
- Click on [Edit] option to edit the equipment details.
- Click on the [Delete] option to disassociate the equipment from the PIN
Click on the [Attach] button to go back to the Equipment addition popup and associate more equipment with the PIN. Although it is a rare use case, multiple equipment can be associated with a PIN.
Add Pin information:
In the Pin Information section, you can associate forms and attach supporting documents to provide additional information about the pin.
 Note: Follow the same steps used for equipment when associating forms or attaching supporting documents.
- On the Create PIN screen, after adding all information (attaching photo/video, adding description, associating equipment and adding Pin information) click the [Create] button to create the PIN.