Overview
You can create a PIN on a floor plan after accessing the document either from a campus map, equipment map etc. or opening the plan directly from the Folders & Files module. The floor plan opens through the app Viewer. The PIN is mainly created to identify an equipment location on a floor plan.
PINs are loaded on floor plans as per PIN types related to the widget through which the floor plan is opened – for example, when you navigate through Shut-off map widget, only the Shut-off PINs (PIN type as Shut-off) on the floor plan will be loaded and displayed to you by default. However, when you navigate through the Equipment Map widget, only the Equipment PINs (with a PIN type of Equipment) on the floor plan will be loaded and displayed by default.
Creating PINs
For example, if you want to create shut-off PINs, you can do so by navigating to the application viewer by clicking on individual floors that appear once you are inside the shut-off widget. Assuming you have floor plan attached to the respective floor, you will be navigated to the viewer once you click on the floor name inside a particular building of Shut-off widget.
Screenshot below displays the pin creation annotation icon in the viewer toolbar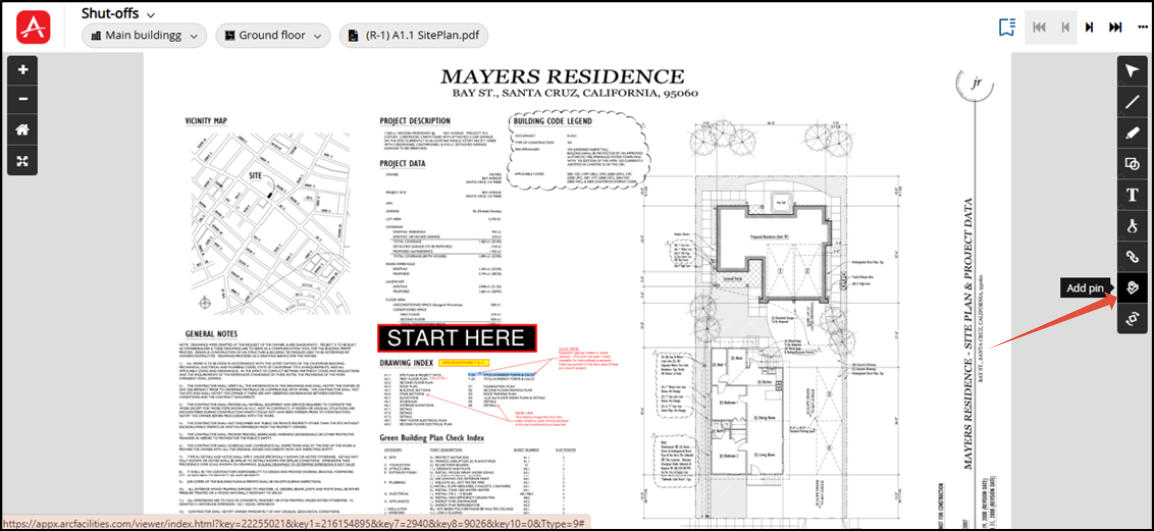
- Click the PIN creation annotation icon and then click on the portion of the floor plan where you want to place the PIN.
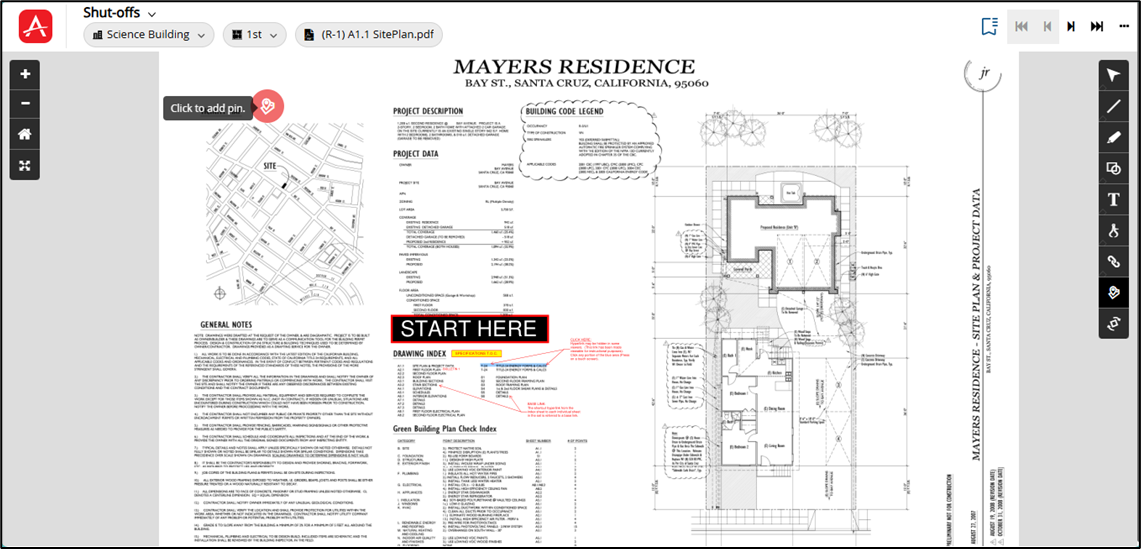
The Select pin icon pop-up will appear now on top of the Viewer screen (Viewer screen will come in the background) immediately after the PIN is placed.
Screenshot below displays the Select pin icon screen:
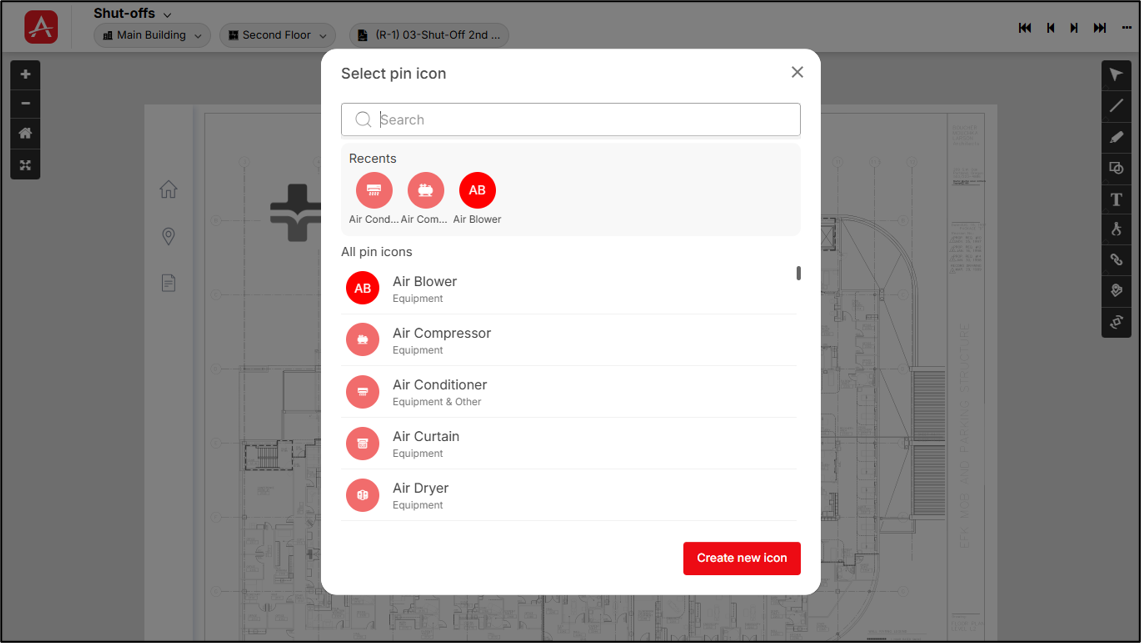
You can search for a specific pin icon using the Search bar or browse the available icons in the ‘All Pin Icons’ section and select the desired icon.
To create a custom pin icon, click Create New Icon located in the bottom-right corner of the screen.
Recently used pin icons
Recently used pin icons are displayed in the Recents section below the search bar, allowing you to quickly reuse previously selected icons.
Note: The Recents section is displayed only after at least one pin icon has been used. If you are creating a pin for the first time, this section will not be available.
Once you find the required pin icon, click on it to proceed to the Create Pin screen. The selected icon will be assigned to the pin by default.
Screenshot below displays the Create pin screen:
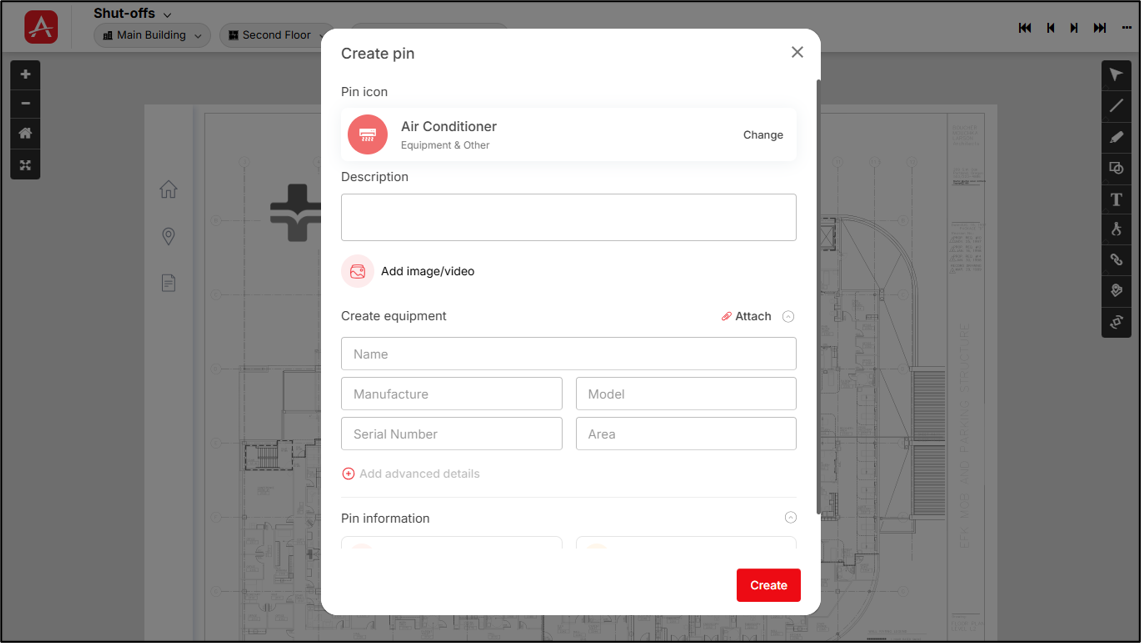
Note: PIN comments will be in ‘PIN details’ screen.
As soon as you select the pin icon, the Create PIN modal will appear, with options to, add a description, attach photos/videos, and/or create/attach equipment, add PIN Information (forms & supporting documents).
To create a PIN, only PIN icon selection is mandatory but rest of options like attaching photo/video, item linking (equipment association, form association, file linking) as well as description is optional. Hence, you can create a PIN by only selecting the PIN icon (but this PIN without any items linked will not serve any real purpose).
Change PIN Icon
If the selected pin icon does not meet your requirements, you can click on [Change] besides the pin icon to return to the Select Pin Icon screen and select a different icon.
Adding Description
On the Create Pin screen, you can provide a description for the pin using the Description field.
Attach image/video of equipment/shut-off/emergency equipment/other equipment
From the Create PIN screen, you can add photos and videos of the equipment by clicking the  [Add image/video] button present under the Description field. After the user clicks the [Add image/video] button, a drop-down appears. This drop-down will show two options: Computer & ARC Facilities.
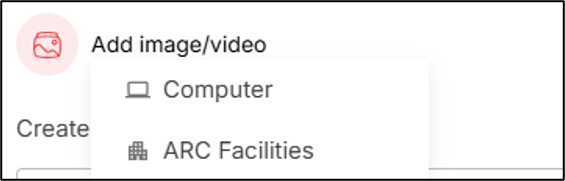
To attach photos from the local computer:
- Click on the [Computer] button on the drop-down and the window through which the user can select images from the local computer will appear.
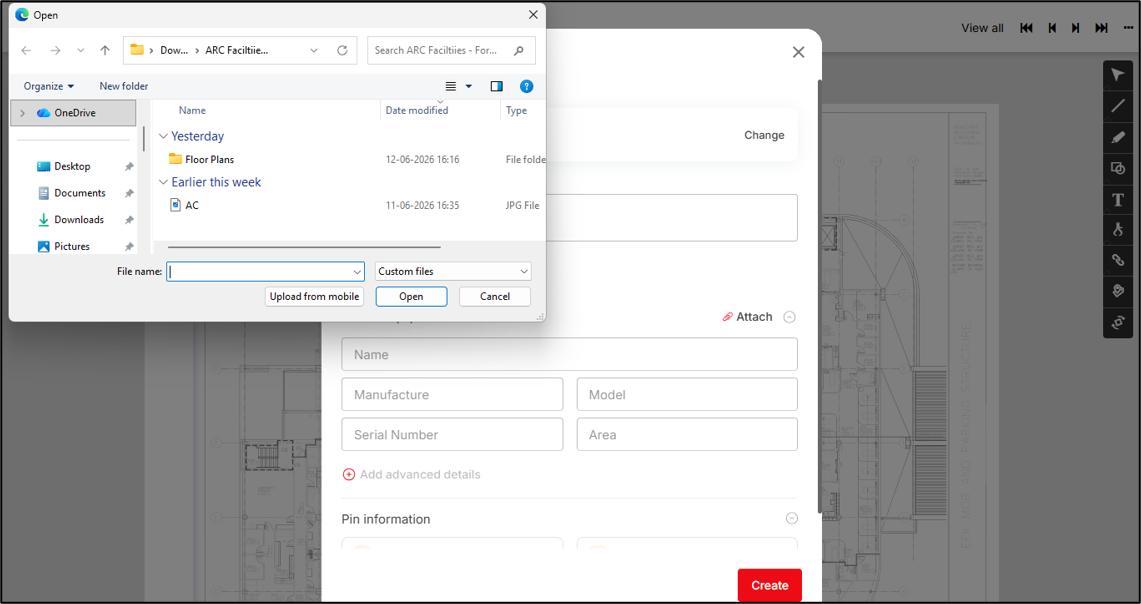
- Double-click on one or more photos or select one or more photos and click the [Open] button to upload and then attach those photos with the PIN.
To attach photos from inside ARC Facilities:
- Click on the [ARC Facilities] button to attach photos from the Folders & Files module of the ARC Facilities app of the campus within which the PIN is getting created.
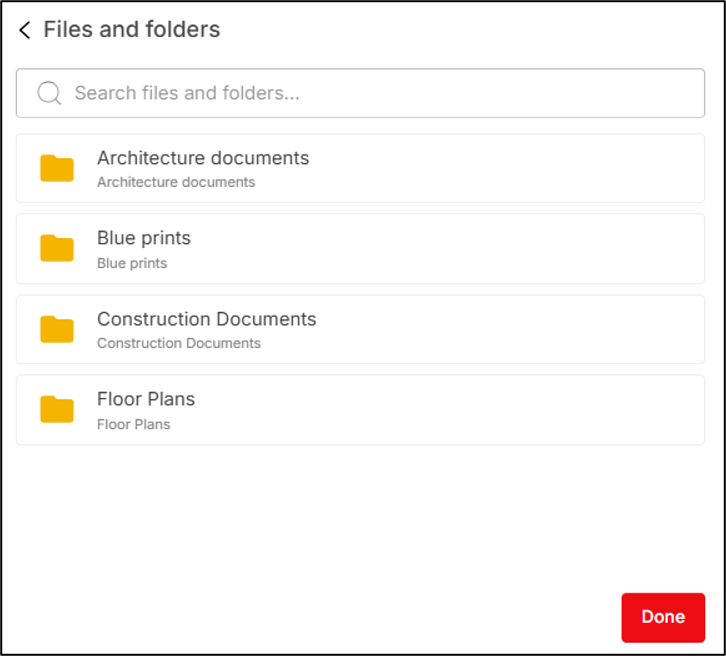
The Folders & Files module of ARC Facilities will have the photos of equipment/shut-offs saved inside that module.
- Move inside a folder to view the photos within it (where the photos were uploaded by the user)
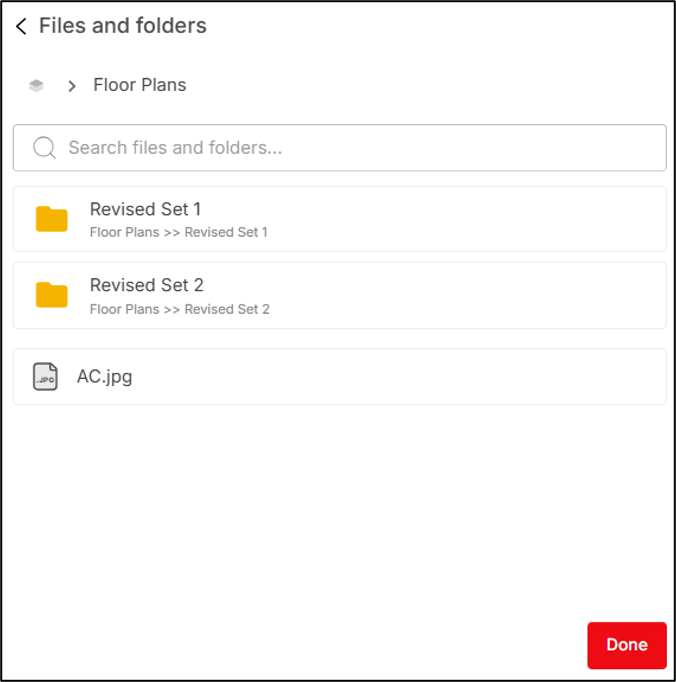
- Click on the photo to select it (more than one photo can be selected).
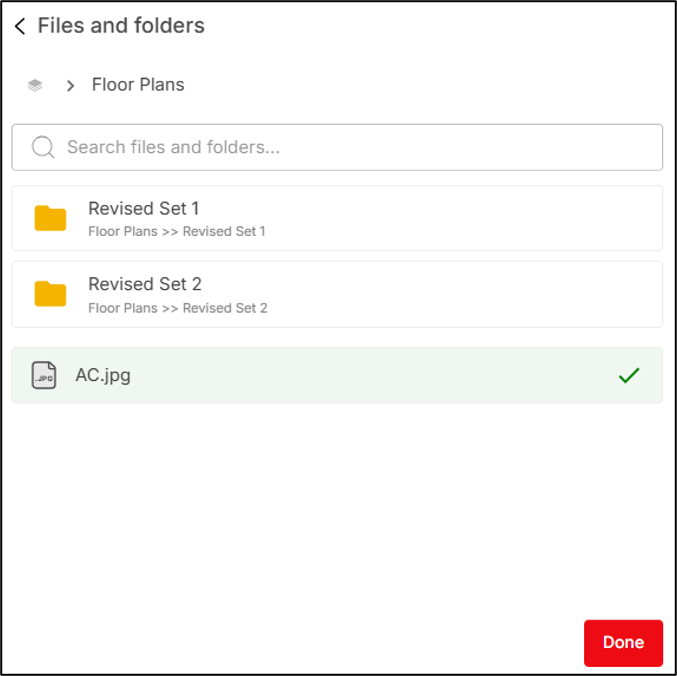
- Now, click on the [Done] button to attach the photo with the equipment
After attaching a photo/video from the local computer or a photo from the Folders & Files module of the ARC Facilities app it is displayed besides the  Add image/video icon in the Create pin screen.
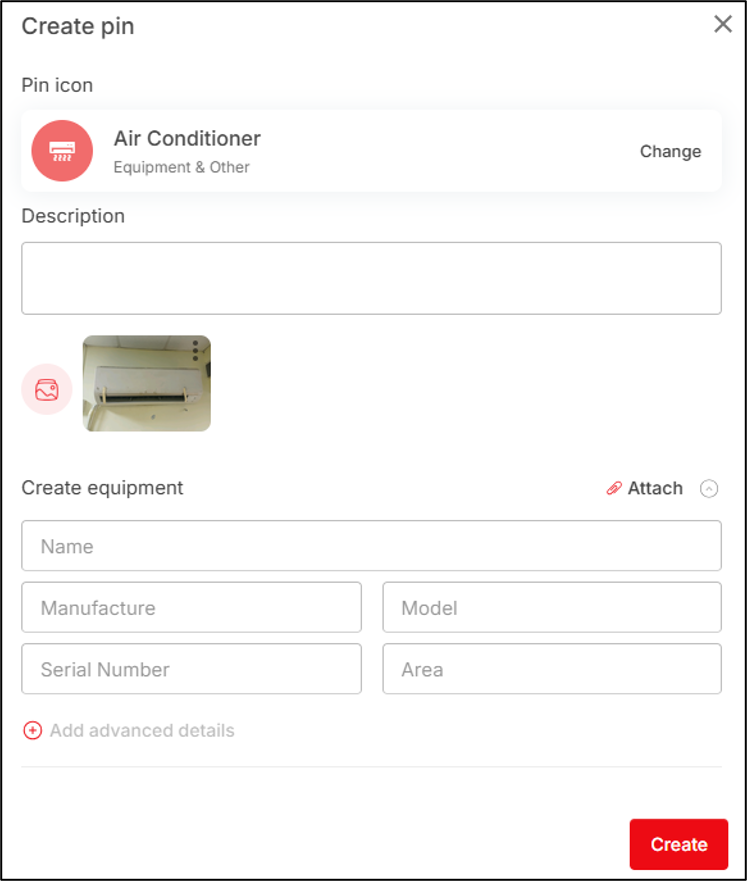
Note: Similarly, videos can be attached from local computers and ARC Facilities.
- View up to 30 photos is allowed but adding up to 15 photos will be allowed in PIN & Equipment
Click on the [More options] button present in the attached photo and a drop-down will appear displaying the [Download] button & the [Remove] button.
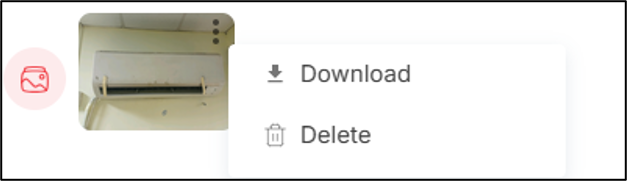
- Click the [Download] button to download the photo in the local computer (this option appears if the photo is attached from the Folders & Files module)
- Click the [Remove] button to detach the photo attachment from the PIN.
The original photo will remain in its place from where it has been attached.
- Click on the attached photo to open it through the photo editor in expanded (full screen) mode.
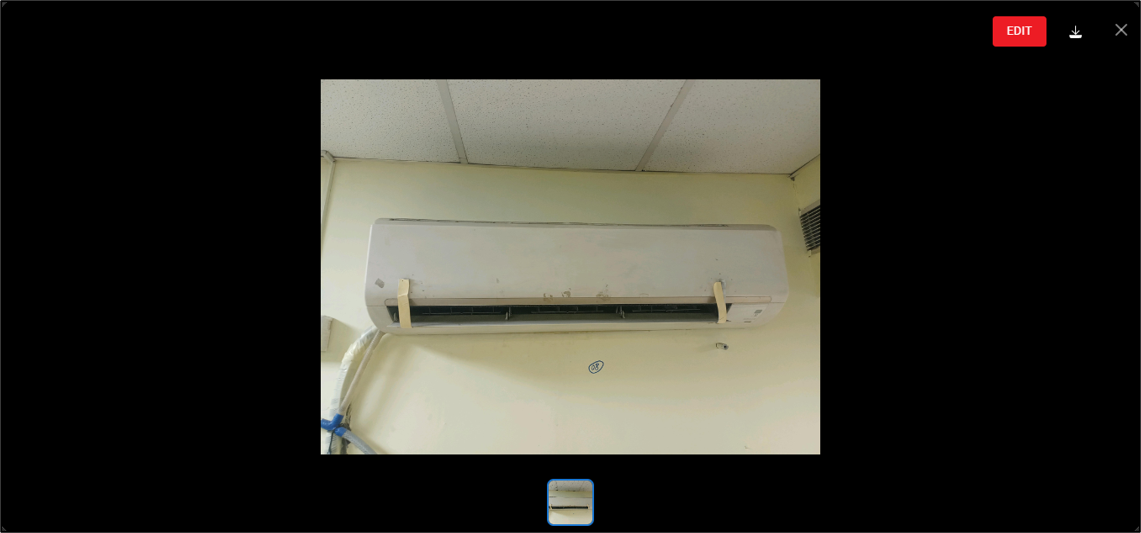
You can also edit the photo by clicking on the [Edit] button.
The photos attached to a PIN should be automatically attached to the equipment which the PIN is identifying (For example, user attaches 2 photos with the PIN. With this PIN an existing equipment is associated that already has 3 photos attached with it previously. In this case, both the PIN and the equipment when opened separately to view/edit details will have a combined 5 photos displayed).
Expanded view of image (maximized screen) will be displayed as per what is shown in current ARC Facilities (image & video) – HEIF & HEIC file viewing will be supported.